
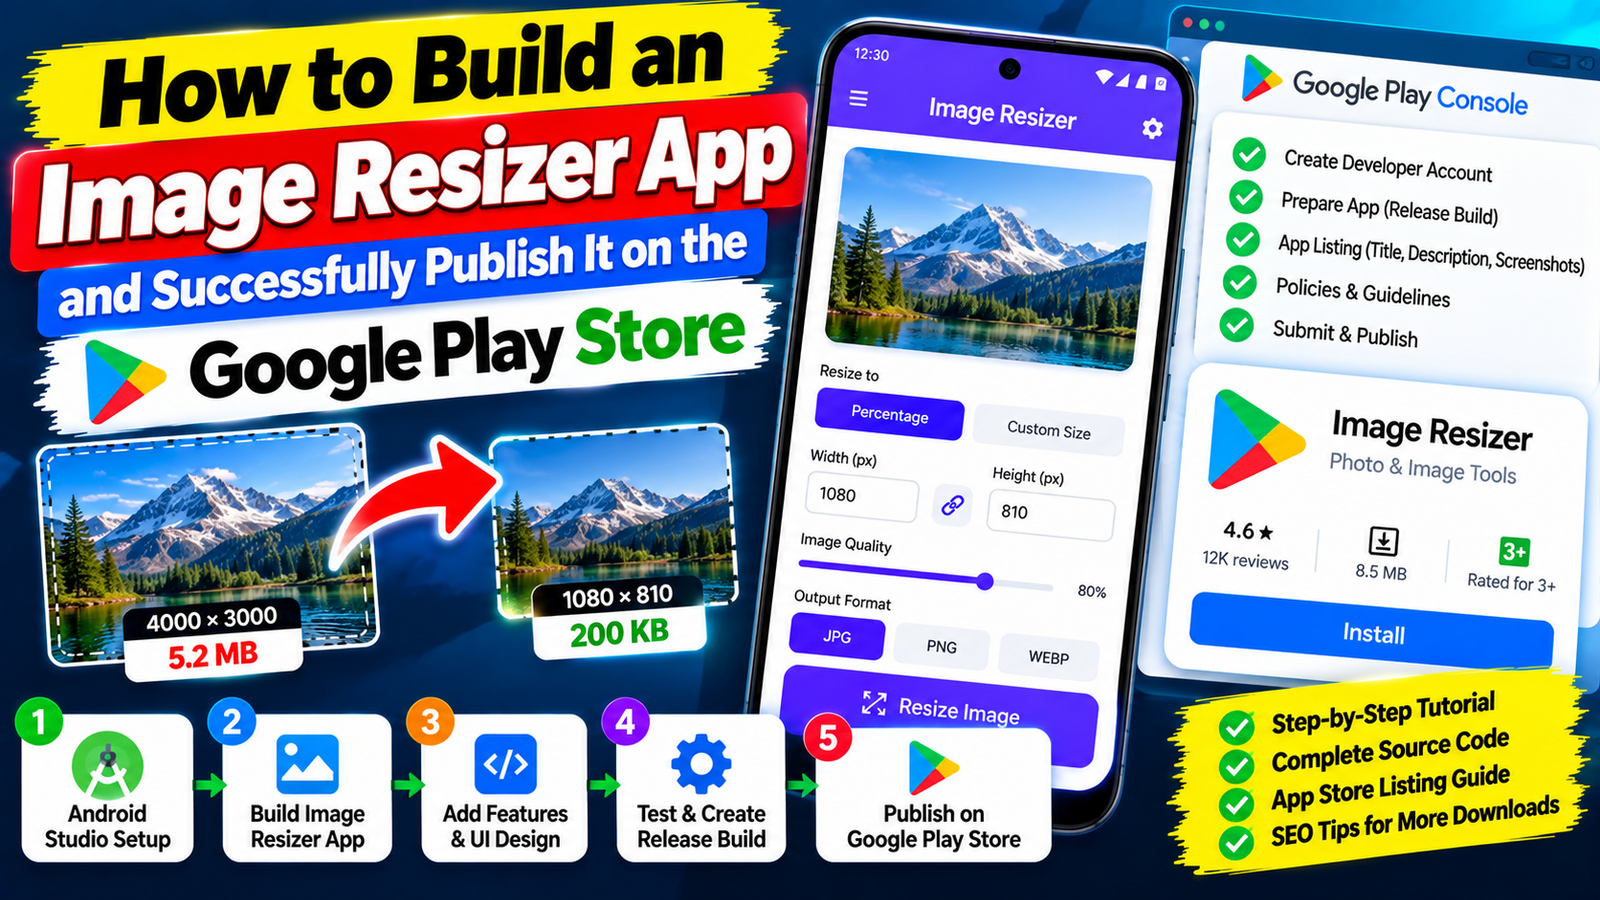
Building an image resizer app is an rewarding project that teaches you bitmap manipulation, file storage management, and mobile UI design. Focus on clean offline performance, handle your Play Console closed testing track with professional discipline through a managed service like inTesters, and launch your utility app to the global market with total confidence.
Utility tools like Image Resizers are among the most searched and downloaded applications on mobile marketplaces. Every day, millions of users need to compress photos for web uploads, scale images down for email attachments, or format pictures to fit precise pixel dimensions for government and job portal forms.
If you are an independent developer looking to build a high-utility app, publishing an image resizer is a great way to enter the mobile market. However, building the app code is only half the journey. Successfully deploying it on the Google Play Store requires navigating strict publishing guidelines, especially Google's mandatory pre-launch testing rules.
This complete, step-by-step guide covers how to build a functional image resizer app, implement smart image-processing logic, publish it on the Play Console, and clear mandatory closed testing gates without getting rejected.
Part 1: Core Features of a Top-Tier Image Resizer App
To make your app stand out on the Play Store and secure strong organic rankings, your app should offer more than just a basic scaling button. Essential features include:
Batch Processing: Allow users to select and resize multiple photos simultaneously.
Custom Dimension Inputs: Give users manual control to type exact width and height pixel targets.
Aspect Ratio Lock: A toggle button to lock or unlock proportions so images do not distort during scaling.
Format Conversion: Allow users to convert PNG files into compressed JPEGs or WebP formats to save device storage.
File Size Estimator: Show a live preview of the estimated file size reduction before the user hits save.
Part 2: Step-by-Step Code Guide — Building the Resizer Logic
You don't need complex third-party frameworks to build an image resizer. Using Android Studio and Kotlin, you can handle bitmap scaling natively using Android's built-in graphics libraries.
1. Handling Image Selection
Using modern Android components, trigger the system photo picker to collect user images securely without requesting broad storage permissions:
Kotlin
val imagePickerLauncher = rememberLauncherForActivityResult(
    contract = ActivityResultContracts.GetContent()
) { uri: Uri? ->
    uri?.let { viewModel.loadOriginalImage(it) }
}
2. The Resizing Algorithm
To prevent Out-Of-Memory (OOM) crashes when handling high-resolution phone camera photos, always process bitmaps efficiently on a background thread using Bitmap.createScaledBitmap:
Kotlin
fun resizeBitmap(originalBitmap: Bitmap, newWidth: Int, newHeight: Int): Bitmap {
    return Bitmap.createScaledBitmap(originalBitmap, newWidth, newHeight, true)
}
Part 3: Publishing Your App on the Google Play Console
Once your app bundle (.aab) is compiled and tested locally, it's time to publish it on the Google Play Console.
Register Your Developer Account: Open the Play Console, pay the $25 registration fee, and complete your identity verification.
Prepare Store Assets: Design an eye-catching 512x512 app icon, a 1024x500 feature graphic, and at least 2 clean smartphone screenshots displaying your actual user interface.
Complete Content Disclosures: Fill out the IARC Content Rating questionnaire and submit your Data Safety form accurately, declaring how local image files are processed on-device.
Part 4: The Major Hurdle — Google Play Closed Testing
If your personal developer account was created after November 2023, Google will not allow you to publish directly to the public Production track.
You must first pass a mandatory Closed Testing phase:
You must recruit at least 12 verified testers.
Your testers must keep your app installed and actively use it for 14 consecutive, uninterrupted days.
Only after this telemetry period can you submit your 10-question Production Access Questionnaire to unlock public release.
Part 5: Why Closed Testing Gets Rejected (And How to Fix It)
Many developers finish their 14 days of testing, apply for production access, and receive an automated rejection email stating: "Your app requires more testing before it can be pushed to production."
Common Reasons for Rejection:
Inactive "Ghost" Testers: Friends or casual forum contacts download your app on day one, open it for 3 seconds, and never touch it again. Google Play Services measures active engagement; zero session depth flags your data as artificial.
Mid-Cycle Uninstalls: If a tester uninstalls your app on day 10 to clear phone space, your active count drops below 12. Your consecutive streak breaks, resetting your 14-day clock back to zero.
Emulator Footprints: Free swap groups often use desktop emulators. Google detects virtual device signatures instantly, triggering policy flags.
The Solution: Deploy Managed Professional Testing
To completely eliminate the risk of a 14-day reset loop and secure production approval on your first attempt, the smartest approach is to utilize a managed professional closed testing platform like inTesters.
Instead of dealing with unreliable drop-outs, a professional testing service provides:
Guaranteed 14-Day Track Stability: Assigns 20+ verified human testers across 16 continuous days, maintaining a safe buffer well above Google's minimum threshold.
100% Real Physical Hardware: Vetted testers evaluate your app across real physical Android devices (Samsung, Pixel, Xiaomi, OnePlus)—never emulators.
Deep User Telemetry: Testers launch your app daily, upload images, test resizing dimensions, and interact for 2 to 3 minutes per session, generating the real engagement metrics Google expects.
Questionnaire Support: Receive detailed QA crash reports and feedback logs to help you complete Google's 10-question Production Access Questionnaire accurately.
Part 6: Competitive Analysis — Standing Out in the Utility Niche
A review of top-ranking image resizer apps on the Play Store reveals critical gaps that smaller developers can exploit:
Avoiding Bloated Ad Placements: Many popular resizer apps frustrate users by showing full-screen interstitial ads every time a single photo is converted. Keep your ad placement subtle (banner ads) to earn high user reviews.
Optimizing for Offline Usage: Many users resize sensitive personal documents (like passport copies or tax forms). Build your app to process images completely offline locally on the device and market your app as "100% Private & Secure" to drive organic downloads.
Fast App Launch Times: Utility apps need to open instantly. Avoid heavy third-party initialization SDKs that delay cold startup times.
About the Author
Pratyush Kumar Thakur
Expert software tester and contributor to the community. Passionate about AI, automation, and user experience.