
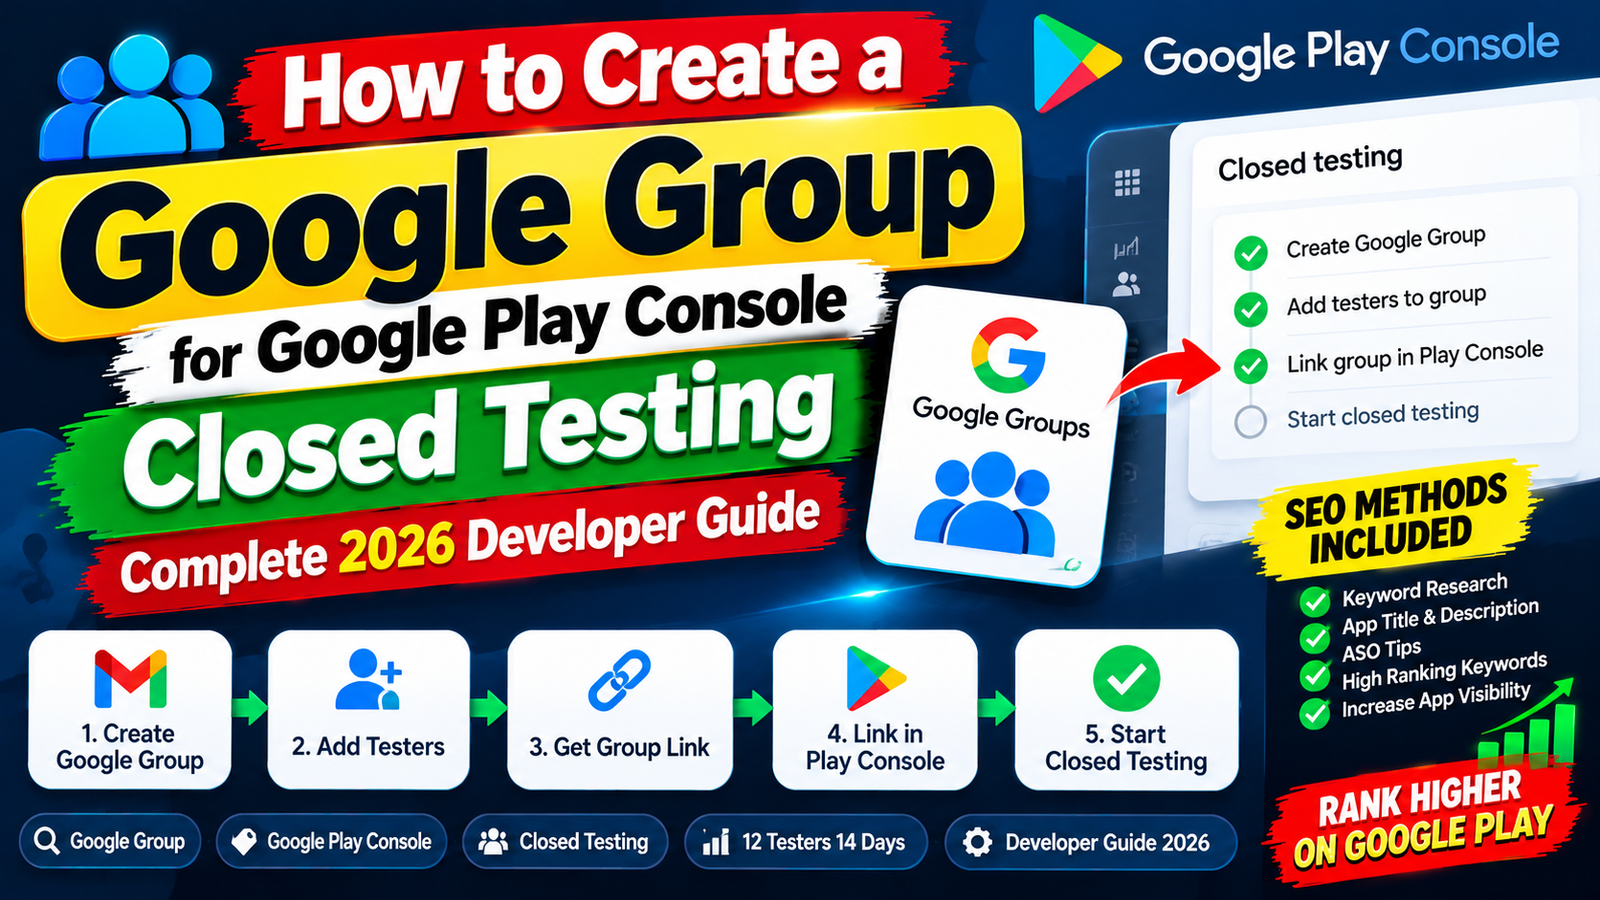
Setting up a Google Group for closed testing simplifies user access management when configured correctly. Set your group privacy permissions to allow external members, copy the exact group email address into the Google Groups section of the Play Console, and ensure testers join the group before opening the Play Store opt-in link. Manage your closed testing track with professional discipline to transition smoothly from testing straight to public production.
For Android developers navigating Google’s publishing workflow, the mandatory 14-day / 12-tester closed testing rule for new personal developer accounts is often the most challenging requirement.
Before Google unlocks your Production track and allows you to publish your app to the public, you must recruit at least 12 verified testers who keep your app installed and actively test it for 14 consecutive, uninterrupted days.
Adding testers individually by typing single email addresses into the Google Play Console is tedious and error-prone. The most efficient solution recommended by Google is to use a Google Group.
This comprehensive guide covers how to set up a Google Group properly, configure privacy settings correctly, integrate the group into the Google Play Console, share join links smoothly, and avoid common technical traps that trigger app rejections.
Why Use a Google Group for Closed Testing?
A Google Group serves as a dynamic, self-managing access list for your Android App Bundle (.aab). Instead of logging into the Play Console every time a new user offers to test your app, you simply share your group's public web link.
Once a user joins your Google Group, Google Play automatically grants them permission to open your opt-in link and download the private build from the Play Store.
Step 1: Create and Configure Your Google Group
Setting up your Google Group properly from the beginning prevents permissions issues later.
1. Create the Group
Open Google Groups and log in with the primary Google account associated with your Play Console.
Click Create group near the top left.
Enter a Group name (e.g.,
My Cool App Testers).The system will auto-generate a Group email (e.g.,
[email protected]). Copy this email address—you will need it for the Play Console.Add a brief group description and click Next.
2. Configure Essential Privacy & Permission Settings (Crucial Step)
If you leave Google Groups on its default strict privacy mode, external users will be blocked from joining, leading to broken testing invites.
On the Privacy settings screen, configure these parameters:
Who can search for group: Set to Anyone on the web.
Who can join group: Set to Anyone on the web can join. (If this option is unavailable, select "Anyone on the web can ask" and set join permissions to automatic approval inside Group Settings).
Who can view conversations: Set to Group members (or Anyone on the web if you want open feedback threads).
Who can post: Set to Group members.
Click Create group and complete the reCAPTCHA security prompt.
Step 2: Extract Your Join Link and Group Email
To onboard testers successfully, distinguish between these two different identifiers:
The Public Web Join Link (For Your Testers):
Format:
[https://groups.google.com/g/my-cool-app-testers](https://groups.google.com/g/my-cool-app-testers)Where to use it: Share this URL with your human testers on social media, Discord, or email. Testers click this link first to join the group.
The Official Group Email Handle (For Play Console):
Format:
[email protected]Where to use it: Enter this exact address inside your Google Play Console dashboard.
Step 3: Add Your Google Group to the Play Console
Connecting your Google Group to your closed testing track requires careful attention to detail.
Log into your Google Play Console.
Select your app and navigate to Testing > Closed testing on the left menu bar.
Click on your active track (e.g., Alpha or Closed testing) and open the Testers tab.
Under Feedback channel, enter your support email address or website URL.
Under Select a testing method, check the radio button for Google Groups.
⚠️ Common Trap: Do NOT paste your group email into the "Email lists" section. You must select the Google Groups radio option. Pasting a group address under "Email lists" causes the console to block all members behind that group.
Click Add Google Group, paste your address (
[email protected]), and press Enter on your keyboard to create the blue email tag.Scroll down to the bottom right and click Save.
┌─────────────────────────────────────────────────────────────────────────────┐
│              Google Play Console Setup Checklist                            │
├──────────────────────────────┬──────────────────────────────┬───────────────┤
│ Setup Parameter              │ Correct Configuration        │ Common Error  │
├──────────────────────────────┼──────────────────────────────┼───────────────┤
│ Testing Method               │ Radio Button: Google Groups  │ Email Lists   │
│ Field Input                  │ [email protected]        │ Web URL       │
│ Geographic Target            │ All Countries and Regions    │ Restricted US │
│ Track State                  │ Published & Approved         │ Draft / Unsaved│
└──────────────────────────────┴──────────────────────────────┴───────────────┘
Step 4: The Golden Rule of Sharing Links with Testers
To prevent the common "App Not Available" or "Item Not Found" error screens, ensure your testers complete onboarding steps in the correct order.
The Mandatory 2-Step Onboarding Process:
[Step 1: Join Google Group] ➔ [Step 2: Accept Web Opt-In Link] ➔ [Download App from Play Store]
Send Step 1 (Group Join Link): Instruct testers to open
[https://groups.google.com/g/my-cool-app-testers](https://groups.google.com/g/my-cool-app-testers)and click Join Group.Send Step 2 (Play Store Opt-In Link): Once they have joined the group, send them your Play Store testing URL (
[https://play.google.com/apps/testing/com.yourcompany.app](https://play.google.com/apps/testing/com.yourcompany.app)). They must click Become a Tester on that web page, then click the download link to install the app build from the Play Store onto their phone.
Crucial Rule: If a user clicks the Play Store opt-in link before joining your Google Group, Google's authorization checks will fail, showing an "App Not Available" error. Always instruct users to join the Google Group first.
Troubleshooting: Why "App Not Available" Happens
If your testers encounter errors while attempting to download your test build, check these three common causes:
Account Mismatch on Device: Many Android users have multiple Google accounts on their mobile phones. The email address used to join the Google Group must match the primary active account inside their phone's Google Play Store app.
Country/Region Targeting Restrictions: Under Closed testing > Countries/regions, make sure you select All countries and regions. If your track is limited to a single country (e.g., US only), testers in other countries will be blocked.
Pending Review Changes: Adding a Google Group or releasing a new build updates your track. Go to the Publishing overview tab and click Submit for review. The opt-in link will not work for new members until Google approves the track update.
What If Your Closed Testing Application Gets Rejected?
Completing 14 days with a Google Group is a key step, but passing the final Production Access Questionnaire requires demonstrating real user engagement.
Many developers wait out the two weeks only to receive a rejection email stating: "Your app requires more testing before it can be pushed to production."
Core Reasons for Closed Testing Rejections:
The "Ghost Tester" Issue: 12 users install your app on Day 1 and never open it again. Google measures active app sessions, screen transitions, and retention over time. Inactive installations signal an artificial test track.
Mid-Cycle Uninstalls: If a casual tester uninstalls your app on Day 10, your active count drops below 12. Your 14-day consecutive streak breaks, resetting the clock back to Day 1.
Vague Survey Answers: Writing generic responses on the 10-question Production Access Questionnaire (e.g., "App is perfect, no bugs were found") signals to manual reviewers that no real quality assurance took place.
The Solution: Deploy Managed Professional Testing
To avoid a 14-day reset loop and secure production access confidently, consider using a managed professional closed testing platform like inTesters.
Instead of chasing down casual contacts, a professional testing framework provides a managed QA environment:
Guaranteed 14-Day Track Stability: Maintains a safety buffer of 20+ verified testers over the mandatory minimum of 12, ensuring your active user count remains stable.
100% Real Physical Android Hardware: Vetted testers evaluate your application across real physical devices (Samsung, Pixel, OnePlus, Xiaomi, etc.)—never emulators.
Authentic Deep Engagement: Testers launch your application daily, navigate submenus, test core features, and generate the deep user telemetry Google's review board evaluates.
AI-Verified Proof Logs & Questionnaire Support: Receive detailed crash logs, compatibility reports, and pre-mapped feedback summaries to help you complete Google's 10-question Production Access Questionnaire accurately.
About the Author

Pratyush Kumar Thakur
Expert software tester and contributor to the community. Passionate about AI, automation, and user experience.