
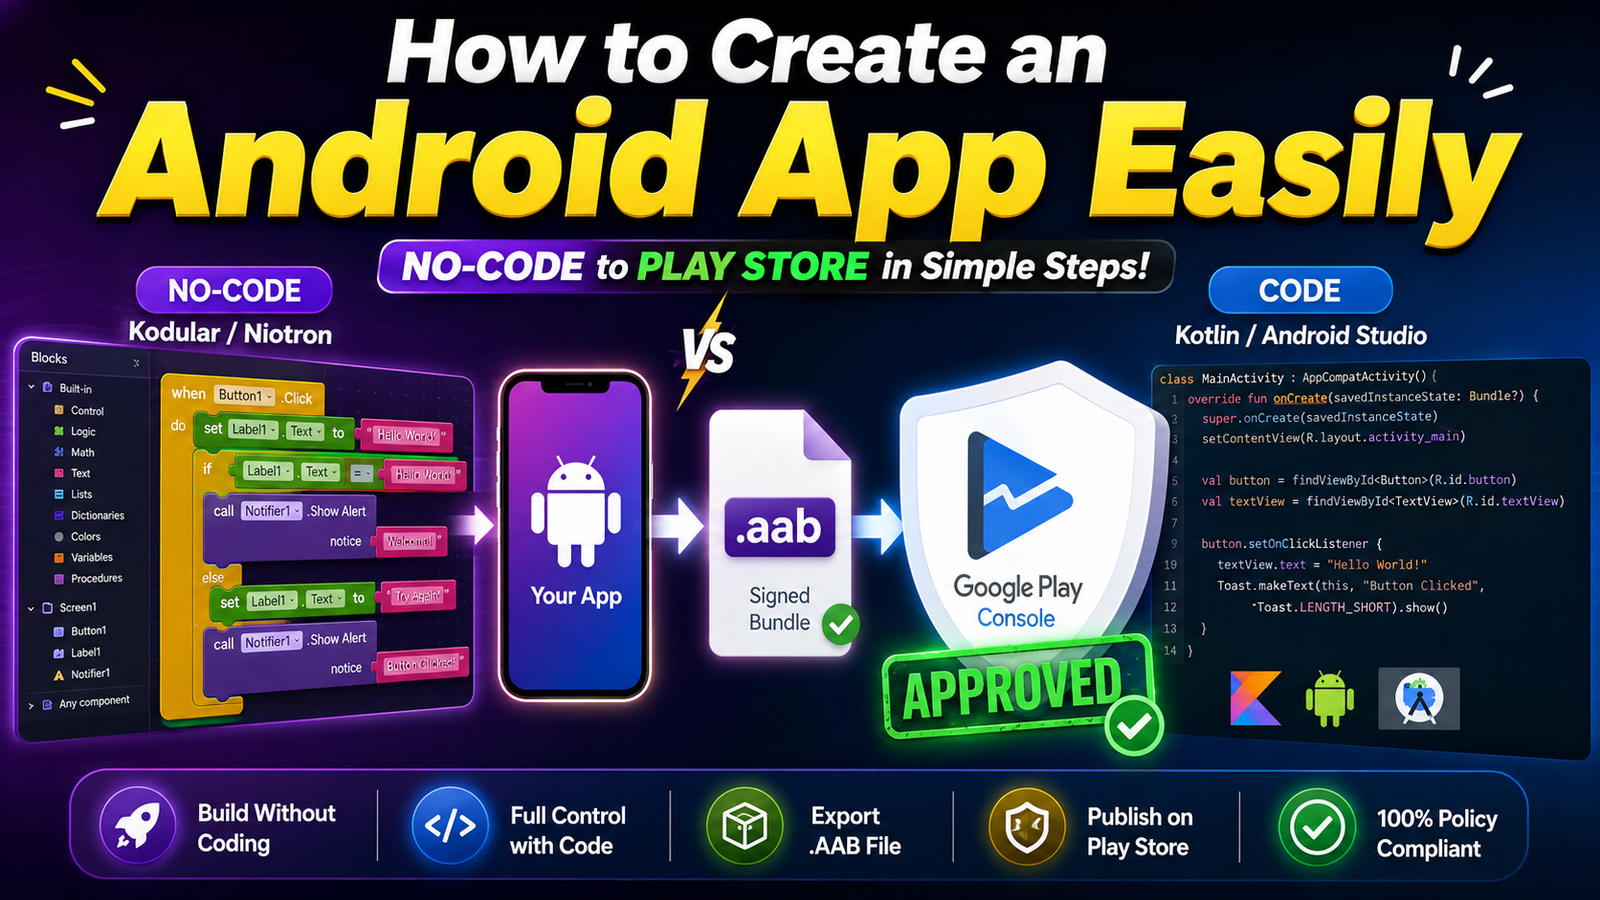
The Ultimate Beginner's Guide to Building and Publishing Android Apps
Have you ever had a million-dollar mobile app idea, only to stall because you thought you needed a master's degree in computer science to bring it to life?
Building an Android app has become remarkably accessible. Whether you want to piece together a prototype without writing a single line of code or build a massive enterprise product using traditional programming frameworks, the path from idea to execution is wider open than ever.
Choosing Your Path: No-Code vs. Code-Based App Development
Before you write a single line or drag your first visual element, you need to decide how you want to build your software. Your choice depends heavily on your technical comfort level and project scope.
1. The No-Code Route: Drag-and-Drop Systems
If you want to build a functional app in hours rather than months without touching complex syntax, visual drag-and-drop builders are your best friend.
Kodular and Niotron: These are powerful, browser-based visual programming environments built on the concept of component blocks. Instead of typing text syntax, you drag UI elements (buttons, image pickers, sliders) onto a canvas and use logical puzzle-piece blocks to program actions (e.g., "When Button1 Clicked, Open Screen 2"). They handle databases, extensions, and user auth seamlessly.
Who it’s for: Entrepreneurs, students, and indie creators looking to prototype fast, build utility tools, or launch simple content apps.
2. The Traditional Code-Based Route: Native & Cross-Platform Frameworks
If your app requires heavy custom background processing, complex local encryption, or intricate 3D graphics, you will need to enter the code editor.
Android Studio (Java / Kotlin): The official integrated development environment (IDE) provided by Google. Writing apps natively in Kotlin gives you absolute control over hardware components, system memory, and top-tier performance.
React Native / Flutter: Popular cross-platform frameworks using JavaScript/TypeScript or Dart. They allow you to write a single codebase that compiles natively into both Android and iOS applications, saving massive development cycles.
Who it’s for: Developers building scale-heavy software, fintech apps, or interactive multiplayer mobile games.
Competitive Analysis: What Are Other Development Guides Missing?
Most online tutorials show you how to write code or drag a button, but they completely ignore the operational realities of getting your software onto user devices:
Ignoring Asset Packaging and Gradle Errors: Many code guides leave beginners stranded when compilation fails due to outdated SDK target levels or mismatched Gradle dependencies.
Failing to Highlight Play Console Gatekeepers: Code tutorials stop the moment an APK or AAB file is generated. They completely omit the fact that generating the file is only 50% of the journey; getting past Google's store compliance and testing filters is the real bottleneck.
Step-by-Step: How to Upload Your App to the Google Play Store
Once your app is built, tested, and compiled into a signed Android App Bundle (.aab), it is time to push it live to millions of users via the Google Play Console.
Set Up a Developer Account: Register for a Google Play Console developer account, complete identity verification, and pay the one-time registration fee ($25).
Create Your Store Listing: Fill out your app name, short and long descriptions, upload your high-resolution app icon (512x512px), feature graphic, and localized UI screenshots.
Complete Content Ratings & Privacy Forms: Fill out the data safety questionnaire, target audience declarations, and content rating forms accurately to avoid compliance flags.
Complete the Mandatory Closed Testing Track: For personal accounts created after late 2023, Google strictly enforces a mandatory 12 testers for 14 consecutive days closed testing rule before unlocking production access.
Request Production Access: Once your 14-day test streak completes successfully with active users, submit your production questionnaire and request review to publish your app publicly.
Avoid Testing Rejections: Get Professional Support
Navigating Google's strict 14-day closed testing rules can quickly turn into a logistical nightmare. If your active tester count drops below 12 for even a single hour, your streak breaks and the countdown resets. Chasing down friends or random internet volunteers often leads to sudden dropouts, flaky feedback, and frustrating production rejections.
If you want to bypass the stress of automated blocks and ensure your app passes store compliance on the first try, you can get professional testing support.
Professional testing services provide:
15-20 Days Testing Cycle: Fully aligned with Google's observation windows to protect your account streak.
15-25 Vetted Testers: Real, active users on diverse hardware configurations who stay engaged.
Google Play Production Answers: Expertly formulated insights to clear your production questionnaire effortlessly.
Managed by an Expert Team: Complete hands-off execution so you can focus entirely on coding and product growth.
Detailed Bug Reports & Compliance Checks: Pre-flight checks ensuring your build satisfies every policy requirement before submission.
Build your app with confidence, secure your production clearance without the headache, and get your software into the hands of real users smoothly.
About the Author

Pratyush Kumar Thakur
Expert software tester and contributor to the community. Passionate about AI, automation, and user experience.