
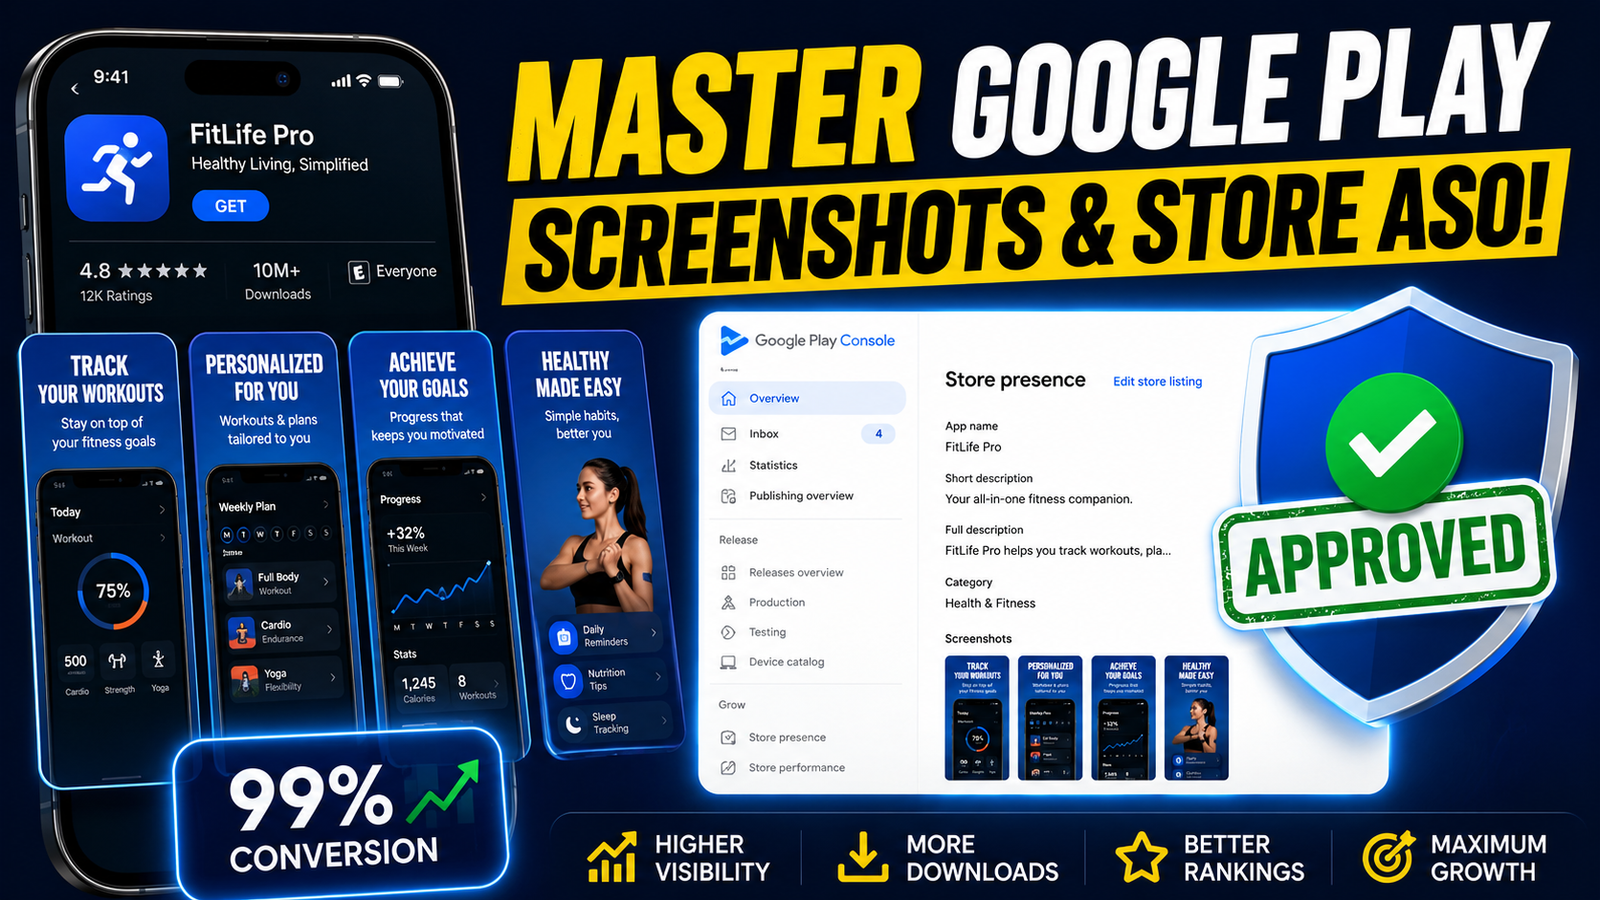
Let’s break down everything you need to know about Google Play screenshot requirements, recommended sizes, the best online screenshot maker tools, and how to upload everything seamlessly.
You have spent weeks writing clean code, building intuitive navigation screens, and fixing bugs. Your Android application is ready. But when a prospective user lands on your Google Play Console store listing, what makes them hit the install button instead of clicking away?
More often than not, it is your app screenshots.
Your store visuals act as your primary marketing billboard. Most users never read your entire description; they glance at the first two or three screenshots and make a snap judgment. Designing professional, high-converting store assets is an essential step of App Store Optimization (ASO).
Google Play Store Graphic & Screenshot Requirements
Google enforces specific technical thresholds for store listing assets. Failing to meet these requirements will trigger automated upload errors or review rejections.
1. General File and Dimension Rules
Format: JPEG or 24-bit PNG. Transparency (alpha channels) is not allowed on screenshots.
File Size: Maximum of 8 MB per image.
Dimensions: Every side must measure between 320 pixels and 3,840 pixels. Furthermore, the maximum dimension cannot be more than twice the minimum dimension (enforcing a strict 2:1 aspect ratio cap).
Quantity: You must provide a minimum of 2 phone screenshots, and you can upload up to 8 screenshots per device category (such as phones, 7-inch tablets, and 10-inch tablets).
2. Recommended Pixel Resolutions by Device Type
Phone (Portrait): 1080 x 1920 pixels (9:16 aspect ratio). This is the industry gold standard because it scales cleanly and keeps text razor-sharp.
Phone (Landscape): 1920 x 1080 pixels (16:9 aspect ratio)—primarily recommended if your app is a game or media player.
7-inch Tablet: 1200 x 1920 pixels (portrait) or 1920 x 1200 pixels (landscape).
10-inch Tablet: 1600 x 2560 pixels (portrait) or 2560 x 1600 pixels (landscape).
3. Other Core Store Graphic Requirements
App Icon: Exactly 512 x 512 pixels, formatted as a 32-bit PNG with alpha transparency, under 1024 KB.
Feature Graphic: Exactly 1024 x 500 pixels (JPEG or PNG without alpha). This acts as the promotional banner at the top of your store listing and serves as the cover image if you include a YouTube promo video.
Best Online App Screenshot Maker Tools
You do not need an advanced background in Photoshop to create gorgeous marketing assets. Several intuitive online tools specialize in generating framed device mockups with clean text overlays:
Hotpot.ai: An exceptional, user-friendly online graphic utility that offers dedicated templates for Google Play screenshots. It allows you to select device mockups, apply professional background gradients, and input bold benefit-driven text headers quickly.
AppMockUp: A popular choice for indie developers. It features drag-and-drop phone frames, custom canvas sizing, and a wide array of color palettes designed to make your UI pop.
Screenshots.pro: Purpose-built for app store assets, this platform provides high-end device mockups and rapid multi-size exporting options.
Previewed: Great for creating stunning, dynamic 3D layouts and device-framed compositions without manual design friction.
Competitive Analysis: What Are Most Screenshot Guides Missing?
Most generic ASO articles tell you to "take a screenshot of your app and upload it." That advice is a surefire way to kill your conversion rate. To stand out in competitive niches, keep these advanced strategies in mind:
The 3-Second Rule (Lead With Your Best Screen): Studies show that over 85% of users never scroll past the first two screenshots. Do not waste your first slide on a generic login screen or a loading splash page. Showcase your app's core value proposition and best feature immediately.
Write Benefit-Driven Captions: Don't just describe what the screen shows (e.g., “Settings Menu”). Instead, highlight the user benefit in bold, legible text (e.g., “Customize Your Experience in Seconds”). Keep copy brief—under 6 words per slide.
Maintain Visual Continuity: Use a consistent background color scheme, typography style, and framing device across all your slides to create a cohesive narrative story as users swipe horizontally.
How to Upload Your Assets to the Google Play Console
Once your high-resolution screenshots and graphic assets are exported and verified, adding them to your live project is straightforward:
Log into Play Console: Open your Google Play Console dashboard and select your application.
Navigate to Store Presence: In the left sidebar menu, go to Grow users > Store presence > Main store listing.
Upload Core Brand Assets: Scroll down to upload your 512x512 app icon and your mandatory 1024x500 feature graphic.
Add Phone and Tablet Screenshots: Locate the screenshot sections. Drag and drop your exported 1080x1920 phone images into the designated slots. If your app supports large screens, upload your tablet assets as well.
Save and Review: Click Save at the bottom of the page and submit your changes for review alongside your production release updates.
Avoid App Rejections: Get Professional Testing Support
Designing a stellar store listing and uploading clean graphics are vital steps, but your app still has to clear Google’s strict technical and compliance gatekeepers before it can go public.
For many developers—especially those managing new accounts—navigating mandatory closed testing rules (such as maintaining 12 to 20 active testers for 14 continuous days) can result in frustrating delays and unexpected rejections due to sudden dropouts or incomplete questionnaires.
If you want to skip the headache of automated rejections, flaky volunteer testers, and compliance guesswork, you can secure professional testing support.
Why Choose Professional Managed Testing?
15-20 Days Testing Cycle: Fully customized to satisfy Google's extended observation windows without breaking your streak.
15-25 Vetted Testers: Real, active users on diverse hardware configurations who thoroughly evaluate your application.
Google Play Production Answers: Expertly formulated insights and feedback logs to clear your production access questionnaire effortlessly.
Managed by an Expert Team: Complete hands-off execution so you can focus entirely on UI design, ASO optimization, and product growth.
Detailed Bug Reports & Compliance Checks: Pre-flight checks ensuring your build satisfies every policy requirement before submission.
Optimize your store listing graphics, secure your production clearance, and drive continuous organic downloads from day one.
About the Author

Pratyush Kumar Thakur
Expert software tester and contributor to the community. Passionate about AI, automation, and user experience.