
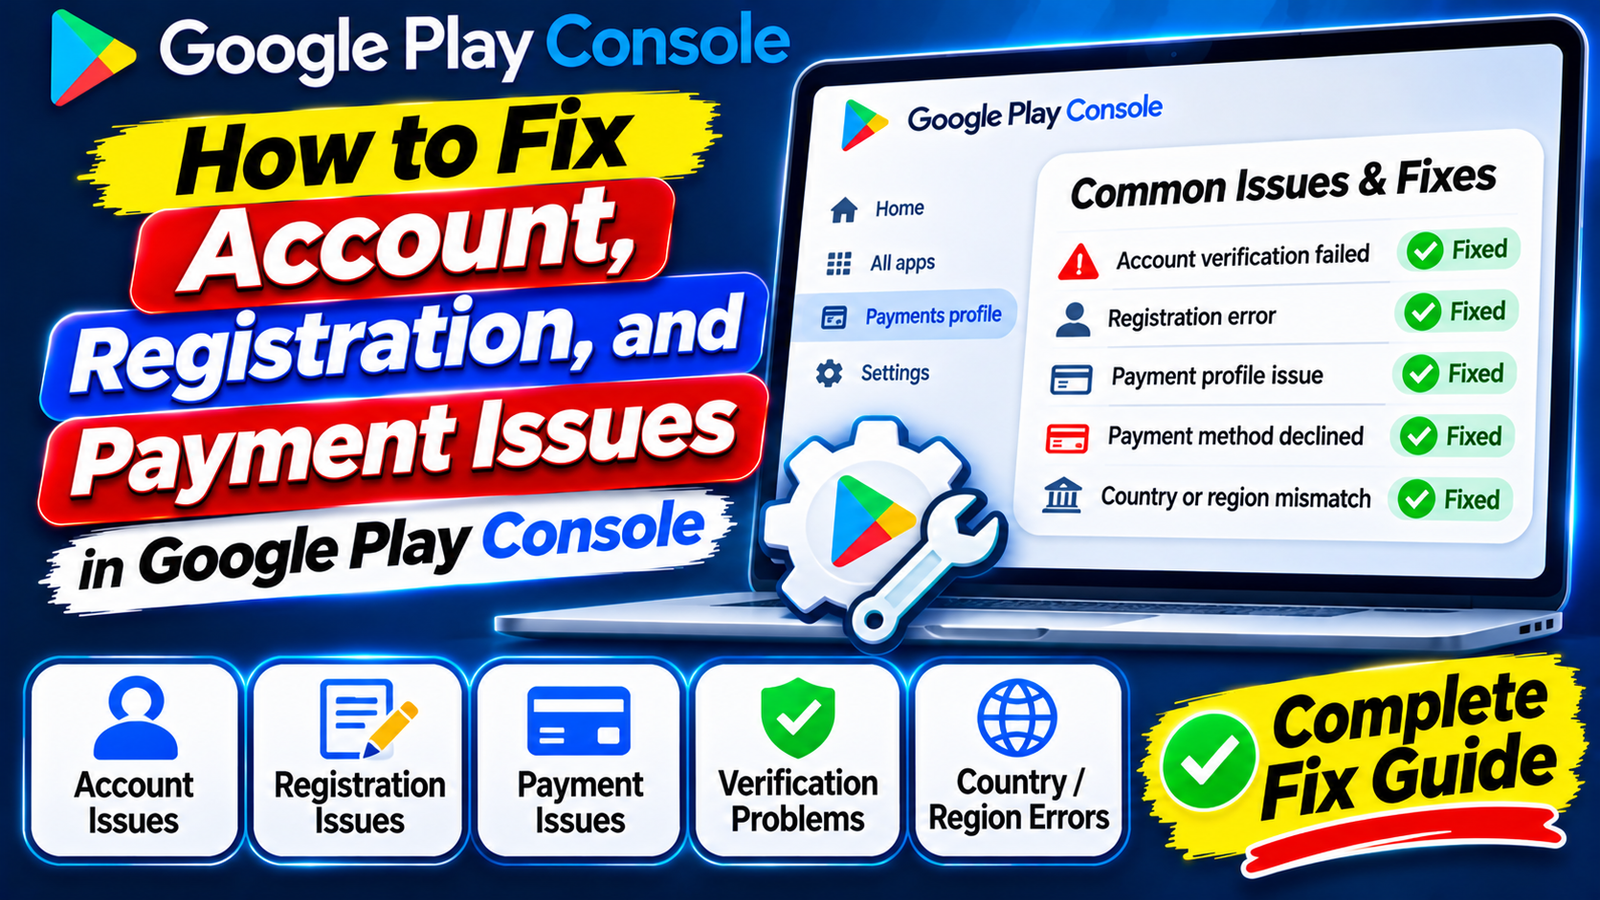
This comprehensive, step-by-step troubleshooting guide covers how to resolve every major account, registration, and billing issue inside Play Console, explains the exact rules around account deletion and terminations, and shows you how to clear Google’s mandatory pre-launch testing hurdles without getting rejected.
Setting up and managing a Google Play Developer account should be straightforward, yet thousands of Android developers run into roadblocks before they ever publish a single line of code. Whether your $25 registration card keeps getting declined, your currency is locked to the wrong country, your account was unexpectedly terminated, or you are stuck in a closed testing loop, administrative issues in the Google Play Console can stall your entire business.
Part 1: Resolving Registration & Payment Issues
Before you can upload an Android App Bundle (.aab), you have to clear the initial $25 registration gateway. Here is how to fix the most common billing errors.
1. Registration Payment Declined (Error Codes & Card Blocks)
If Play Console rejects your $25 registration fee, it rarely means your account is banned—it is usually a mismatch between your bank and Google Payments.
Enable International & USD Transactions: Google bills the $25 fee in USD. Many banks in regions like India, Nigeria, and Pakistan block international e-commerce charges by default. Log into your banking app and explicitly enable international online transactions before retrying.
Match Your Billing Address Character-for-Character: Open pay.google.com, check your Payments Profile, and make sure the street address, apartment number, and postal code match your bank statement exactly.
Use Supported Card Networks: Google accepts Visa, Mastercard, and American Express credit or debit cards. Prepaid gift cards, UPI, PayPal, and virtual wallet cards frequently trigger fraud filters (
OR_FGVEM_07/OR_MIVEM_02).Maintain a Currency Buffer: If your card is denominated in a local currency (like INR or NGN), keep at least $28–$30 worth of balance to cover dynamic currency conversion fees and bank markups.
2. Registration Payment Hasn't Been Processed After 48 Hours
Sometimes your bank deducts the $25 fee, yet Play Console still asks you to pay again.
Wait the Full 48-Hour Window: Bank settlements and Google’s initial anti-fraud checks can take up to 48 hours to sync. Do not repeatedly click "Pay" during this window, or you risk multiple pending holds on your card.
Contact Support After 48 Hours: If 48 hours have passed and your console is still locked, gather your bank transaction receipt, order ID from pay.google.com, and screenshots, then submit a ticket through the Play Console Help form.
3. How to Change Currency on a Play Console Account
Google Play locks your default payout and pricing currency to the country you selected when creating your Payments Profile. There is no button to change your currency. To switch currencies, you must follow this exact workaround:
Create a brand-new Google Account using a different email address.
Register a new Play Console account using that email, select your new country/currency, and pay the $25 registration fee.
Contact Google Play Support to transfer your existing apps and all their download statistics, ratings, and reviews from your old account to the new one.
Once the transfer completes, request support to close your old account and refund your original $25 registration fee.
4. Issues Setting Up a Merchant Payments Profile
If you plan to sell paid apps or offer in-app purchases, you must link a Merchant Profile under Setup > Payments profile. Make sure you are legally permitted to conduct commercial business in a Google-supported merchant country, and verify that your tax identification details (such as PAN/GST in India or EIN/SSN in the US) match your developer identity documents.
Part 2: Account Access, Verification & Deletion Rules
1. Unable to Verify Email or Phone Number
During onboarding, Google requires 6-digit OTP verification for both your public developer contact details and your private account owner details.
Format Numbers Properly: Always use strict E.164 international format starting with a
+sign, followed by your country code, area code, and phone number (for example,+919876543210or+14155552671).Check Prerequisites First: Play Console will block phone number verification until you complete Identity Verification (Government ID or D-U-N-S) and either Device Verification (via the Play Console mobile app for personal accounts) or Website Verification (for organizations).
Switch Verification Channels: If SMS codes fail to arrive due to carrier spam filters, select the Voice Call option instead.
2. Deleting a Play Console Account (With vs. Without Published Apps)
Simply deleting your Gmail or Google Account will not automatically delete your Google Play Developer profile.
If You Have Zero Published Apps: If you have never published an app—or if zero users have ever installed your apps—you can contact Google Play Support to permanently close your developer profile.
If You Have Published Apps with Installs: Google will not allow you to delete your account. Under the Developer Distribution Agreement, past users have the legal right to reinstall apps they previously downloaded, which requires an active developer profile. Your only option is to transfer those apps to another developer's Play Console account first; once your portfolio is empty, support can close your account and refund your registration fee.
Part 3: Surviving & Appealing an Account Termination
An account termination is the most severe penalty on Google Play. Multiple policy strikes—or a single egregious violation like malware, impersonation, or severe Developer Distribution Agreement (DDA) breaches—can trigger immediate termination without prior warning.
What Happens When an Account Is Terminated?
All live and draft apps are immediately removed from Google Play.
All user bases, download metrics, ratings, and reviews are permanently forfeited.
Never Open a New Account: If you try to register a second Play Console account using a new email, credit card, or device, Google's automated association scanners will link it to your terminated profile, permanently ban the new account, and forfeit your $25 fee without a refund.
Strict Rules for Appealing a Termination
Google only reinstates terminated accounts if a genuine mistake was made and your apps do not violate platform policies. Keep these strict rules in mind before submitting your appeal:
180-Day Hard Deadline: You have exactly 180 days from the termination date to submit an appeal. After 180 days, your case is permanently closed.
Supported Appeal Languages: Google’s policy team only reviews and responds to termination appeals written in English, Chinese, Japanese, or Korean.
One Shot Only: Do not rush your appeal. Audit every app in your account, remove any non-compliant third-party SDKs, and write a calm, factual explanation backed by concrete documentation rather than emotional complaints.
Part 4: Clearing the Next Major Hurdle — Mandatory Closed Testing Rejections
Once you successfully pay your $25 fee and verify your identity, owners of Personal Developer Accounts face one final administrative barrier before publishing: Google's mandatory 14-day closed testing rule.
Before Google unlocks your Production track, you must recruit at least 12 verified testers who keep your app installed and actively test it for 14 consecutive, uninterrupted days.
Why DIY & Free Closed Testing Tracks Get Rejected
Many developers finish registration, invite 12 friends or join free "install-swap" groups on social media, wait two weeks, and receive a rejection email stating: "Your app requires more testing before it can be pushed to production."
This happens for four specific reasons:
Inactive "Ghost" Testers: Casual swap partners install your app on Day 1, open it once for three seconds, and never launch it again. Google Play Services tracks background session length and screen interactions; zero genuine engagement flags your test track as artificial.
Mid-Cycle Uninstalls: If a single tester deletes your app on Day 10 to free up phone storage, your active count drops below 12. Your consecutive streak breaks, resetting your 14-day countdown clock back to Day 1.
Emulator Footprints: Free swap pools often use desktop emulators to manage multiple accounts. Google detects virtual device signatures easily, putting your newly registered account at risk of policy flags.
Vague Questionnaire Answers: Writing generic responses on the 10-question Production Access Questionnaire (such as "No bugs found, app is ready") signals to human reviewers that no real quality assurance took place.
The Solution: Deploy Managed Professional Testing
To avoid getting stuck in a 14-day reset loop after resolving your registration setup, the safest path to Production approval is using a managed professional closed testing platform like inTesters.
Instead of chasing unreliable contacts, a professional testing service gives you:
Guaranteed 14-Day Track Stability: Assigns 20 to 25 verified human testers across 16 continuous days, giving you a strong safety buffer above Google’s 12-tester minimum so your streak never resets.
100% Real Physical Android Devices: Vetted testers evaluate your app on real smartphones (Samsung, Google Pixel, Xiaomi, OnePlus) across diverse Android versions—never emulators.
Authentic Deep User Telemetry: Testers launch your app daily, navigate menus, and interact with features for 2 to 3 minutes per session, generating the clean engagement telemetry Google expects.
AI-Verified Proof Logs & Questionnaire Support: Receive daily screenshot proof logs, detailed crash reports, and pre-mapped feedback summaries to complete Google’s 10-question Production Access Questionnaire accurately.
Competitive Analysis: What Other Play Console Troubleshooting Blogs Miss
Most troubleshooting articles online simply copy-paste Google's help documentation without explaining the hidden traps that trip up developers in real life:
VoIP Numbers Fail Verification: Many developers try using virtual VoIP numbers (like Google Voice or Skype) for contact verification. Google's SMS gateway routinely blocks VoIP numbers—always use a real physical SIM carrier number.
Account Association Traps via Shared Wi-Fi or SDKs: If you hire a freelancer or agency to upload builds or manage your Play Console, never grant them full Admin access unless necessary, and ensure they have never had a terminated Play Console account. Shared IP addresses, identical Keystore certificates, or linked AdMob accounts can trigger an automatic "Associated Account" termination.
Pre-Launch Report Diagnostics: Even while resolving payment or testing issues, check Test and release > Testing > Pre-launch report inside Play Console. Google runs automated crawlers on real devices as soon as you upload a bundle, flagging crashes and security leaks before you ever submit for final review.
About the Author

Pratyush Kumar Thakur
Expert software tester and contributor to the community. Passionate about AI, automation, and user experience.