
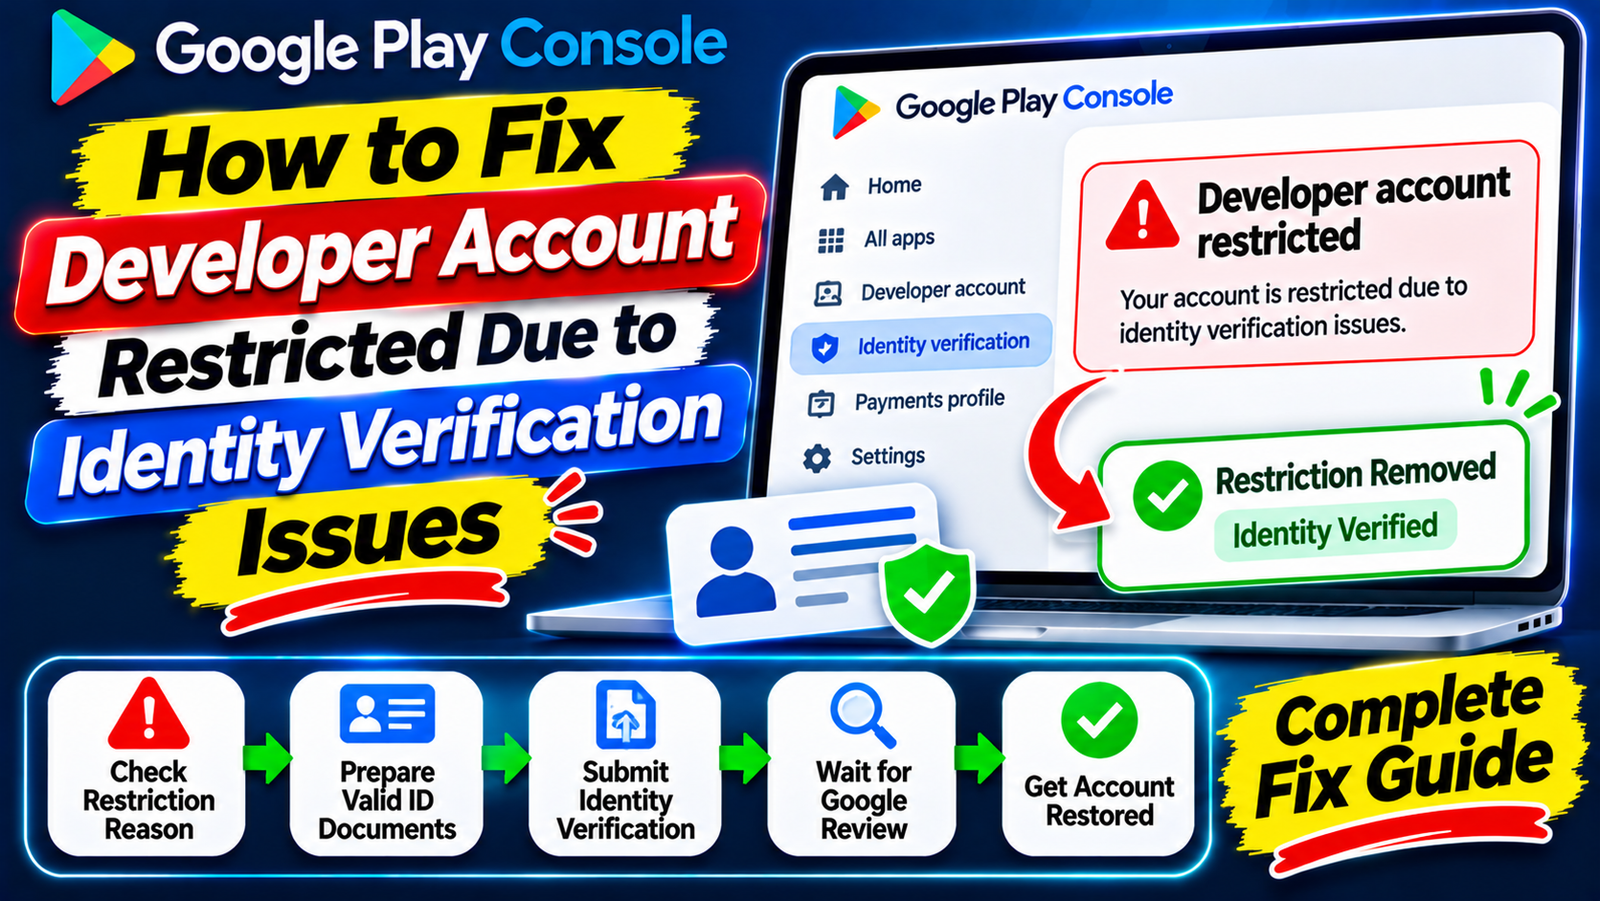
This step-by-step recovery guide explains exactly why Google restricts accounts over identity verification, how to break out of the verification upload loop, how to submit a winning appeal, and how to clear Google’s next major publishing hurdle—mandatory closed testing—without getting rejected.
Logging into your Google Play Console only to see a bright red warning banner reading "Restricted developer account: Your developer profile and apps have been removed from Google Play" is one of the most stressful experiences an Android developer can face.
In most cases, this restriction does not happen because your app contains malware or violates content policies. Instead, it happens because Google’s automated compliance scanners flagged an issue during your Developer Identity Verification or Contact Verification checks. Worse, many developers get trapped in an endless loop where the console refuses to let them verify their phone number until identity verification clears—while simultaneously blocking new ID document uploads.
1. What Does "Restricted Developer Account" Actually Mean?
First, take a breath: a Restricted Account is not the same as a Terminated Account.
Terminated Account: Permanent ban due to severe policy strikes or Developer Distribution Agreement (DDA) violations. Your apps are gone forever, and you are barred from opening new accounts.
Restricted Account: A temporary administrative lock triggered when verification deadlines pass or submitted documents fail automated validation. Your existing apps are temporarily hidden from the Google Play Store, and new app publishing is paused. Once you fix the underlying verification mismatch, your developer profile and live apps are restored.
2. Top 5 Reasons Your Identity Verification Failed
Google’s automated document scanners reject thousands of legitimate developer IDs every month over minor formatting errors. Before requesting a reset or filing an appeal, audit your account against these five common failure triggers:
1. Name or Address Mismatch with Your Payments Profile
The legal name and physical street address on your government ID must match your Google Payments Profile (pay.google.com) character-for-character. Even small discrepancies—such as omitting a middle name, abbreviating "Street" to "St.", or having an outdated apartment number on your billing profile—will trigger an automatic rejection.
2. Document Quality & Cropping Violations
Google’s verification system instantly rejects documents that fail strict visual checks:
Black-and-white scans or photocopies (documents must be full-color photographs or scans).
Glare from camera flash covering text, holograms, or your photo.
Cut-off corners (all four edges of the ID card or passport page must be clearly visible).
Expired IDs or unsupported local ID cards (for example, submitting a regional voter card when Google requests a Passport, National ID, or Driver's License).
3. Stuck in the "Phone Verification Prerequisite" Loop
Many developers see two errors on their dashboard: "Identity verification could not be completed" and "Developer phone number verification is pending." When you click to verify your phone number, the console displays: "To verify this phone number, complete other verification tasks first."
Why this happens: Google locks phone verification until Identity Verification (and Device Verification via the Play Console mobile app for personal accounts) is 100% approved. You cannot bypass this order—you must fix the ID rejection first.
4. Country Mismatch Across Account, Card, and ID
If your Play Console account is registered in India, your $25 registration fee must be paid using an Indian bank card, and your government ID must be issued by India. Using a foreign virtual card, a relative's payment method from another country, or a VPN during onboarding frequently triggers an immediate identity restriction.
5. Exhausted Automated Upload Attempts
If your ID upload fails two or three times in a row, Play Console automatically locks the upload button to prevent spam. Once locked, clicking "Appeal" without fixing your underlying Payments Profile data will simply result in an automated denial.
3. Step-by-Step: How to Fix & Unrestrict Your Play Console Account
Follow this exact sequence to break out of the verification lock and get your account reinstated:
Step 1: Audit and Fix Your Google Payments Profile First
Do not submit an appeal before fixing your profile details.
Open Google Payments Center using your Play Console owner email.
Go to Settings and inspect your Name and address under your Payments Profile.
Edit your legal name and physical address so every single letter, spelling, and postal code matches your official government ID (a Passport has the highest automated approval rate worldwide).
Check Manage account > Account details inside Play Console and confirm the name and address match your updated Payments Profile.
Step 2: Prepare a Clean, High-Resolution ID Scan
Take a crisp, high-resolution color photo of your valid Passport, Driver’s License, or National ID card in natural daylight with zero flash glare.
Ensure all four corners of the document are visible against a plain, contrasting background.
Do not apply filters, watermarks, or digital edits.
Step 3: Contact Play Console Support to Reset Your Upload Link
If the document upload button inside your Play Console is locked or missing:
Visit the official Google Play Developer General Contact Form (
[support.google.com/googleplay/android-developer/contact/general_contact](https://support.google.com/googleplay/android-developer/contact/general_contact)).Select Account verification / Identity verification as your issue category.
Explain clearly and politely that your automated verification attempts are locked, confirm that you have updated your Payments Profile (
pay.google.com) to match your legal ID character-for-character, and ask the support team to reset your identity verification upload link so you can submit a clean color copy of your document.If you are an Organization account having D-U-N-S matching errors, use Google’s dedicated D-U-N-S verification support form to align your corporate address.
Step 4: Complete Device & Phone Verification Once ID Clears
As soon as support resets your link and approves your ID:
Open the Google Play Console mobile app on a physical Android phone and complete Device Verification (for personal accounts).
Return to Manage account > Account details > Contact details on the web console and verify your phone number using strict E.164 international format (e.g.,
+919876543210or+14155552671).Note that a display bug sometimes leaves the red warning banner visible for 24 to 48 hours after approval—check your Publishing overview or live Play Store links to confirm your restriction has lifted.
4. What Comes Next? Avoiding the Closed Testing Rejection Trap
Once your identity verification clears and your account restriction is lifted, owners of Personal Developer Accounts created after November 13, 2023, face one more major hurdle before releasing apps to the public: Google's mandatory 14-day closed testing requirement.
Before Google unlocks your Production track, you must recruit at least 12 verified testers who keep your Android App Bundle (.aab) installed and actively test it for 14 consecutive, uninterrupted days.
Why DIY & Free Closed Testing Tracks Get Rejected
After spending weeks fighting identity verification issues, the last thing you want is an email from Google stating: "Your app requires more testing before it can be pushed to production." Yet this happens constantly when developers rely on friends or free social media "install-swap" groups:
Inactive "Ghost" Testers: Casual swap partners install your app on Day 1, open it once for 3 seconds, and never launch it again. Google Play Services tracks session depth and screen interactions; shallow opens flag your testing track as artificial.
Mid-Cycle Uninstalls: If even one tester deletes your app on Day 10 to free up phone storage, your active count drops below 12. Your consecutive streak breaks, resetting your 14-day countdown clock back to Day 1.
Emulator Footprints: Free swap groups often use desktop emulators to fake installs. Google detects virtual device signatures effortlessly, risking new flags on your newly restored account.
Vague Questionnaire Responses: Answering the 10-question Production Access Questionnaire with short lines like "No bugs found, app is ready" signals to human reviewers that no genuine quality assurance occurred.
The Solution: Deploy Managed Professional Testing
To eliminate the risk of a 14-day reset loop and unlock Production access on your very first attempt, the smartest move is to partner with a managed professional closed testing platform like inTesters.
Instead of chasing unreliable contacts, an enterprise testing service provides:
Guaranteed 14-Day Track Stability: Assigns 20 to 25 verified human testers across 16 continuous days, giving you a strong safety buffer above Google’s 12-tester minimum so your streak never resets.
100% Real Physical Android Devices: Vetted testers evaluate your app on real smartphones (Samsung, Google Pixel, Xiaomi, OnePlus) across diverse Android versions—never emulators.
Authentic Deep User Telemetry: Testers launch your app daily, navigate menus, and interact with features for 2 to 3 minutes per session, generating the clean engagement telemetry Google expects.
AI-Verified Proof Logs & Questionnaire Support: Receive daily screenshot proof logs, detailed crash reports, and pre-mapped feedback summaries to complete Google’s 10-question Production Access Questionnaire with confidence.
Competitive Analysis: What Other Verification Troubleshooting Guides Miss
Most articles covering Play Console restrictions simply repeat generic help center text without highlighting the hidden technical traps developers encounter in real life:
Never Open a Second Account While Restricted: If your current account is restricted over identity verification, do not panic and open a brand-new Play Console account using the same credit card, ID, or IP address. Google’s automated association systems frequently block duplicate registrations or flag them for circumventing verification rules. Always resolve or close the existing ticket through support first.
In-App PAN / Aadhaar vs. Passport Rules (Regional Nuance): In countries like India, automated scanners frequently misread laminated Aadhaar cards or older PAN cards due to glare and font layouts. Whenever possible, use a Passport or Driver's License for Play Console verification—approval rates are dramatically higher.
VoIP Numbers Break Phone Verification: Even after your identity is approved, attempting to verify a virtual VoIP number (such as Google Voice or Skype) will fail. Always use a real physical SIM mobile number capable of receiving standard international SMS or voice calls.
About the Author

Pratyush Kumar Thakur
Expert software tester and contributor to the community. Passionate about AI, automation, and user experience.