
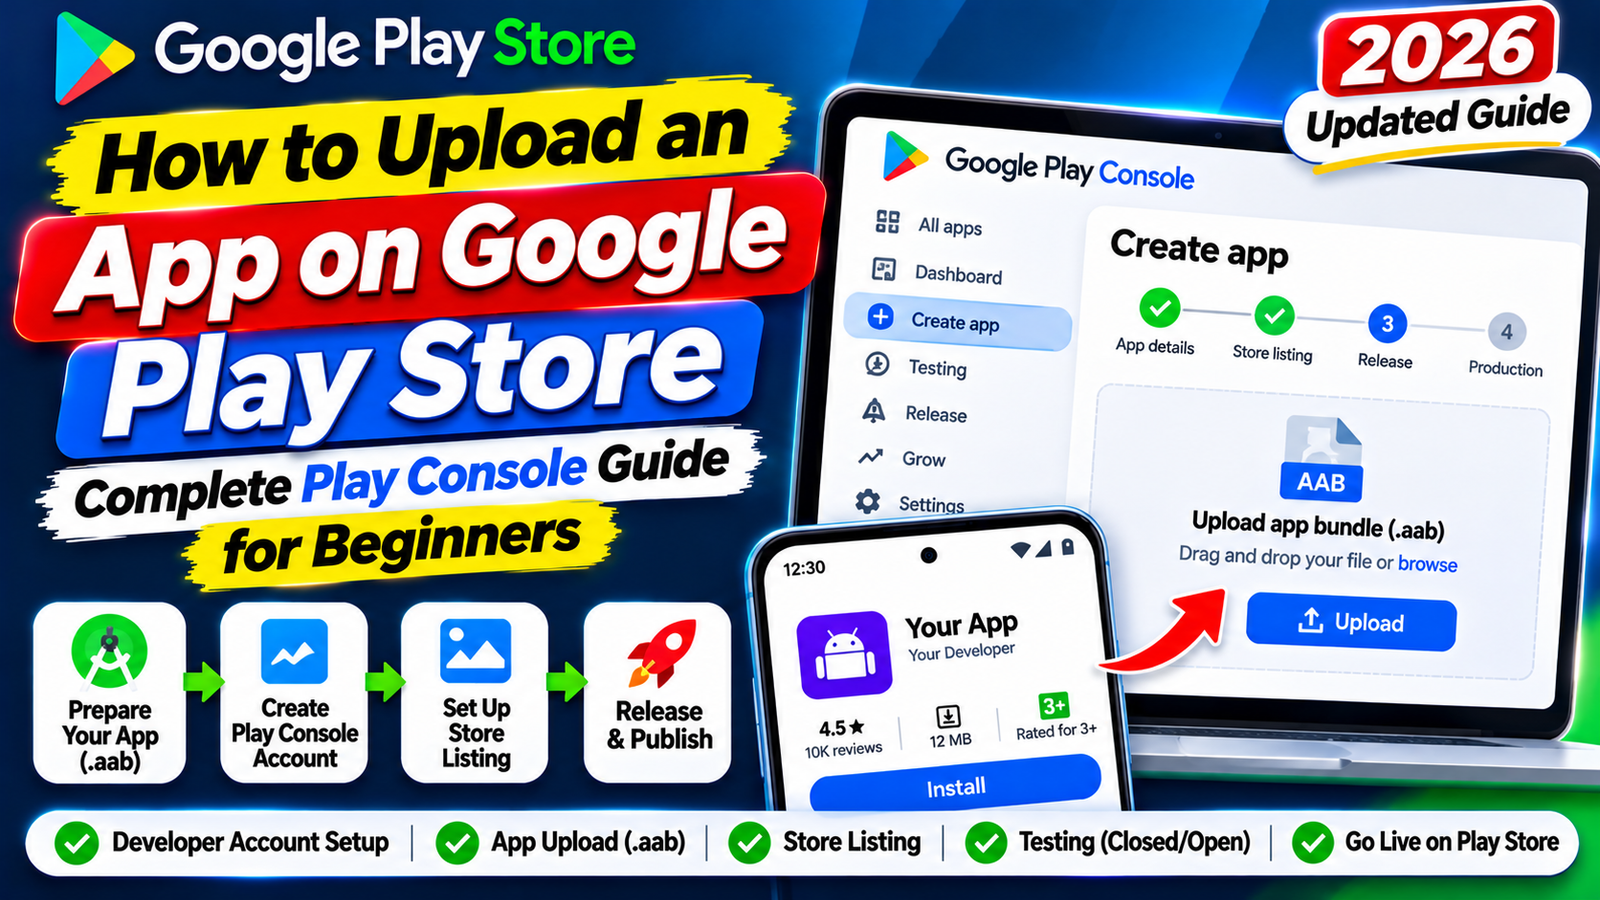
This complete, step-by-step Play Console blueprint covers every stage of the launch workflow—from creating your developer account and preparing signed app bundles to passing closed testing and submitting your app for final production approval.
Publishing an Android application on the Google Play Store is one of the most rewarding milestones for any developer. With billions of active Android devices globally, getting your app listed on the Play Store opens the door to worldwide users, organic downloads, and sustainable monetization.
However, launching an app involves more than simply uploading a file and hitting publish. Google enforces strict technical standards, identity verification checks, privacy disclosures, and mandatory pre-launch testing gates—including a 14-day closed testing period for new personal developer accounts.
Step 1: Create Your Google Play Developer Account
Before you can upload any code, you need an active Google Play Developer profile.
Visit the Google Play Console and log in with the Google account you want permanently tied to your developer profile.
Choose Your Account Type: Select between a Personal Account (ideal for solo developers, students, and freelancers) or an Organization Account (ideal for legally registered companies with a free D-U-N-S number).
Pay the Registration Fee: Complete the $25 one-time registration payment using a valid credit or debit card. Unlike Apple's annual subscription, this is a single lifetime fee.
Accept the Agreement: Read and sign the Google Play Developer Distribution Agreement.
Step 2: Complete Identity & Device Verification
To maintain platform security and prevent spam, Google requires all new accounts to complete strict verification steps:
Identity Verification: Upload a government-issued photo ID (Passport, Driver’s License, or National ID) matching your Google Payments Profile name character-for-character. Organization accounts must submit corporate registration papers and their D-U-N-S number.
Contact Verification: Verify both your public developer email address and your private contact phone number via 6-digit OTP verification codes.
Real Device Verification (Personal Accounts): Download the official Google Play Console mobile app onto a physical Android smartphone, sign in with your owner credentials, and complete the automated device check. You cannot publish apps until this step is verified.
Step 3: Create Your App in Play Console
Once your account is verified, set up your app's foundational profile:
Open your Play Console dashboard and click Create app.
App Name: Enter the official title of your app (up to 30 characters). Make sure it includes your primary keyword naturally.
Default Language: Select the primary language your app uses.
App or Game: Specify whether your project is an application or a video game.
Free or Paid: Choose whether users can download your app for free or must pay upfront.
Crucial Warning: Once you publish an app as Free, Google Play policy permanently locks that choice. You can never switch a free app to a paid download later (though you can still add in-app purchases or subscriptions).
Check the policy declarations boxes and click Create app.
Step 4: Complete App Setup & Policy Declarations
On your app's main Dashboard, scroll down to the Set up your app checklist. Google requires you to complete several mandatory compliance forms before uploading builds:
Privacy Policy URL: Paste a live, publicly accessible URL hosting your app's privacy policy. Even if your app collects zero user data, Google still mandates a valid link.
App Access: Specify whether all parts of your app are accessible without restrictions. If your app requires a user login (email/password or OTP), you must provide working demo credentials so Google reviewers can test every screen.
Ads Declaration: State clearly whether your app contains third-party advertisements (such as Google AdMob or Unity Ads).
Content Rating Questionnaire: Fill out the official IARC survey regarding violence, mature themes, or user-generated content to generate your official age rating badges.
Target Audience & Content: Select your target age group. If your app targets children under 13, strict Google Play Families Policy rules apply.
Data Safety Form: Disclose every piece of user data your app or third-party SDKs collect, share, or encrypt. Ensure your answers match your Privacy Policy 100%.
Step 5: Configure Your Store Listing & Visual Assets
Your store listing is your public storefront. High-quality visuals and clear copy directly drive user conversion rates:
Short Description (80 characters max): A punchy, keyword-rich hook summarizing what your app does.
Full Description (4,000 characters max): A detailed breakdown of your app's features, benefits, and use cases. Write naturally for human readers—avoid keyword stuffing.
App Icon: Upload a crisp 512 x 512 px PNG file (32-bit, max 1024 KB).
Feature Graphic: Upload a 1024 x 500 px promotional banner displayed at the top of your Play Store listing.
App Screenshots: Upload at least 2 to 8 high-resolution screenshots showcasing your real user interface on mobile phones. Adding brief feature callout captions on screenshots improves download rates.
Promo Video (Optional): Link a short YouTube video demonstrating your app in action.
Step 6: Build & Upload Your Signed App Bundle (.AAB)
Google Play no longer accepts standard .apk files for new app submissions. You must package your app as a signed Android App Bundle (.aab).
Meet Target API Requirements: Ensure your project's
targetSdkVersiontargets Android 16 (API level 36) or higher to satisfy Google Play's current compliance standards.Generate a Signed Bundle: In Android Studio, navigate to Build > Generate Signed Bundle / APK, choose Android App Bundle, create or select your private Upload Keystore, and compile your
releasebuild.Key Safety Tip: Back up your
.jkskeystore file and passwords in a secure location. Also opt into Google Play App Signing, which lets Google securely manage your final distribution key.Upload to Console: Go to your testing or production track in Play Console, click Create new release, drag and drop your
.aabfile, write clear release notes, and save.
Step 7: Complete Mandatory Closed Testing (Personal Accounts)
If you registered a Personal Developer Account after November 13, 2023, Google will not allow you to publish straight to the public Production track.
You must first clear Google's mandatory Closed Testing Gate:
Navigate to Testing > Closed testing in your Play Console.
Recruit at least 12 verified testers (aim for 16–20 as a safety buffer).
Keep those testers continuously opted-in and actively testing your app for 14 consecutive, uninterrupted days.
Once the 14-day timer completes, answer Google's Production Access Questionnaire to unlock your Production release button.
Why Closed Testing Gets Rejected (And How to Fix It)
Many new developers upload their app, invite 12 casual friends or swap partners from social media, wait two weeks, and receive a frustrating email from Google stating: "Your app requires more testing before it can be pushed to production."
Why DIY & Free Testing Tracks Fail:
Inactive "Ghost" Testers: Friends download your app on Day 1, open it once for 3 seconds, and never launch it again. Google monitors background session telemetry via Play Services; shallow opens flag your testing track as artificial.
Mid-Cycle Uninstalls: If a single tester uninstalls your app on Day 10 and your active count drops below 12, your consecutive streak breaks, resetting your 14-day clock back to zero.
Emulator Usage: Free install-swap groups often use desktop emulators. Google easily detects virtual hardware signatures, which can trigger policy flags.
Vague Questionnaire Responses: Answering the Production Access Questionnaire with short lines like "No bugs found, app works great" signals to reviewers that no genuine quality assurance occurred.
The Solution: Deploy Managed Professional Testing
To avoid a 14-day reset loop and ensure your app unlocks Production access on your very first attempt, the smartest strategy is to use a managed professional closed testing platform like inTesters.
Instead of chasing unreliable contacts, a professional testing service provides:
Guaranteed 14-Day Track Stability: Assigns 20 to 25 verified human testers across 16 continuous days, maintaining a strong safety buffer above Google's 12-tester minimum.
100% Real Physical Devices: Vetted testers evaluate your app across real physical Android smartphones (Samsung, Google Pixel, Xiaomi, OnePlus)—never emulators.
Authentic Deep User Telemetry: Testers launch your app daily, navigate submenus, test core features, and interact for 2 to 3 minutes per session, generating the organic engagement metrics Google expects.
AI-Verified Proof Logs & Questionnaire Support: Receive daily visual verification logs, crash reports, and pre-mapped feedback summaries to complete Google's Production Access Questionnaire with precision.
Step 8: Set Pricing, Countries & Submit for Final Production Review
Once your Closed Testing track is approved and Production unlocks:
Select Countries & Regions: Go to Production > Countries/regions and select the countries where you want your app available (or select All countries and regions for global distribution).
Set Pricing (If Paid): Under Monetize > App pricing, set your default price and review localized currency conversions.
Send for Final Review: Navigate to Publishing overview on the left sidebar and click Send changes for review.
How Long Does Google Play Review Take?
For a brand-new developer account or a first-time app submission, Google’s review process typically takes 48 hours to 7 days. Once approved, your status changes to Published, and your app goes live on the Google Play Store globally.
Competitive Analysis: What Other Beginner Publishing Guides Miss
A review of top-ranking Play Console tutorials reveals several critical technical traps that beginners frequently overlook:
Google Play Integrity API & R8 Obfuscation: In 2026, leaving code obfuscation (
minifyEnabled true) turned off exposes your source code and inflates app size. Always enable R8 shrinking and upload yourmapping.txtfile to Play Console so crash stack traces remain readable.Testing Release Builds Locally First: Never upload an untested release
.aabdirectly to Play Console. Use Google's command-linebundletoolor Internal App Sharing to test your exact signed release bundle on a physical phone first, ensuring ProGuard/R8 rules haven't stripped out vital network or billing classes.Pre-Launch Report Diagnostics: As soon as you upload your bundle to any track, Google automatically runs automated UI crawlers across real Firebase Test Lab devices. Always inspect Test and release > Testing > Pre-launch report to fix layout glitches or security warnings before submitting for final production review.
About the Author

Pratyush Kumar Thakur
Expert software tester and contributor to the community. Passionate about AI, automation, and user experience.