
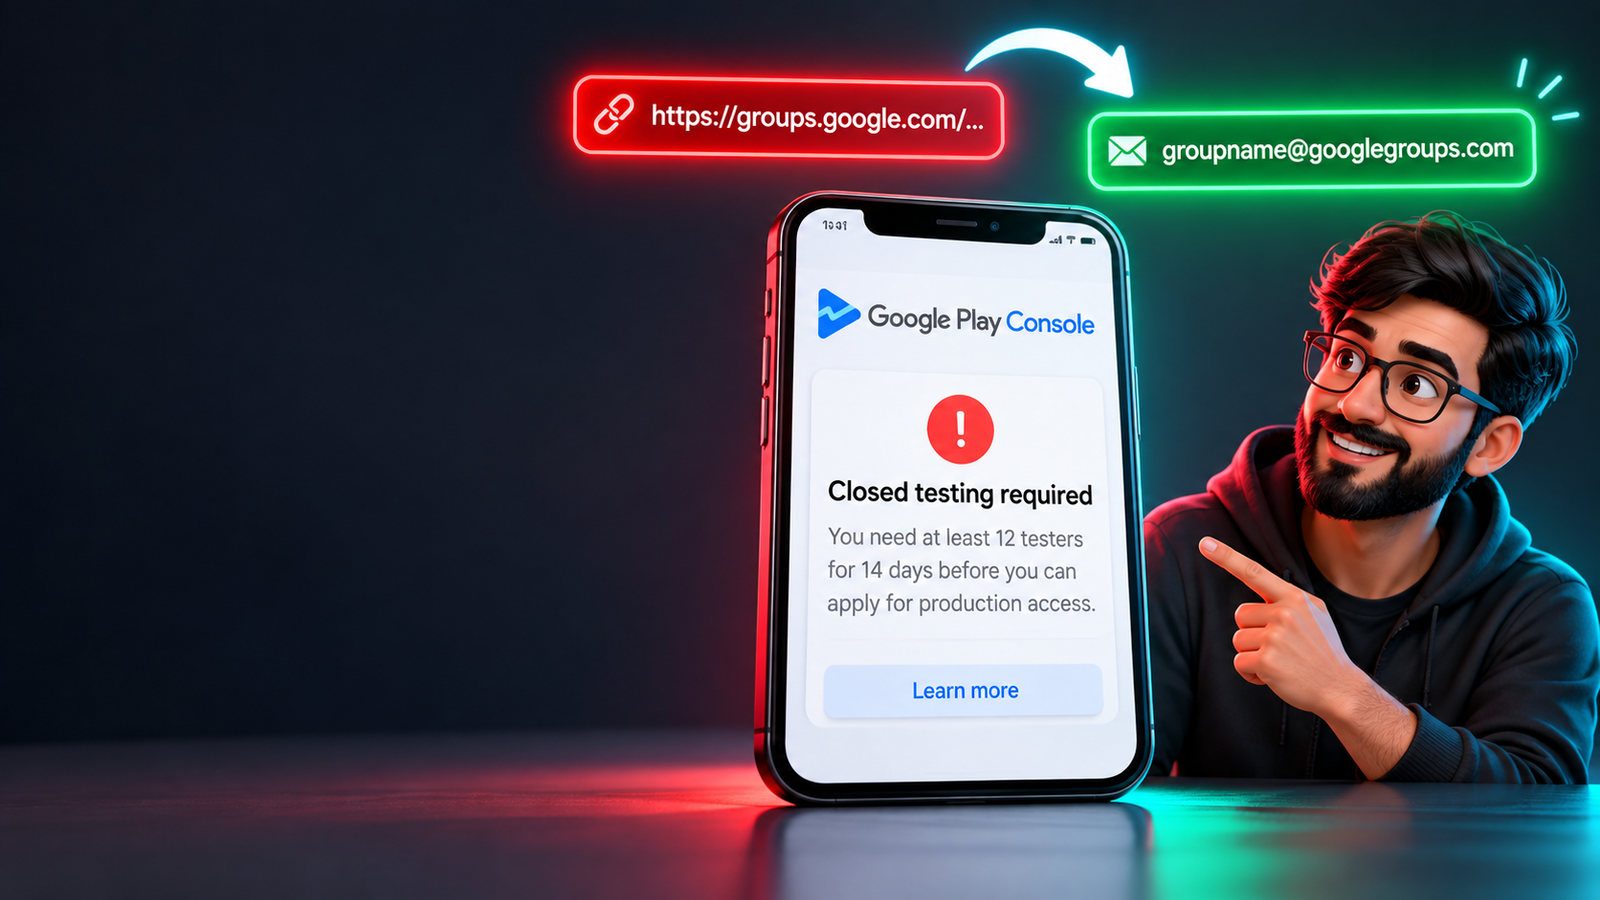
Setting up closed testing on the Google Play Console is one of the most stressful hurdles for Android developers. If you registered a personal account, Google forces you to run a mandatory 14-day closed test with real users before you can release your app to the public.
To make managing testers easier, Google allows you to use a Google Group. Instead of manually typing in individual email addresses, you simply paste your group's email address into the console.
However, thousands of developers hit a frustrating roadblock: The Google Group fails to add, shows formatting errors, or testers click the link and see an "App Not Available" screen.
If your Google Group is not working in the Play Console, you are not alone. This guide breaks down the exact technical mistakes developers make when adding Google Groups, how to format your inputs properly, and how to get your closed testing track running smoothly.
1. The Most Common Mistake: Mixing Up the Group Link vs. Group Email
The primary reason a Google Group fails when entered into the Google Play Console comes down to a simple formatting mistake: inputting the web URL instead of the actual Group Email Address.
The Link vs. Email Rule:
❌ The Web Join Link (Do NOT put this in Play Console):
[https://groups.google.com/g/appstestlab](https://groups.google.com/g/appstestlab)✅ The Official Group Email (DO put this in Play Console):
[email protected]
When you create a Google Group named appstestlab, Google automatically generates a public web link where users go to click "Join Group." Developers often copy that web URL and paste it directly into the Play Console text box.
The console will instantly flag the web URL as an invalid string. You must extract the exact handle (e.g., appstestlab) and add @googlegroups.com to the end of it.
How to Input it Correctly in Console:
Open your Google Play Console and navigate to Testing > Closed testing.
Select your track and click on the Testers tab.
Make sure you check the radio button for Google Groups (do not select "Email lists").
Type or paste your exact group email:
[email protected].Press the Enter key on your keyboard. (If you do not hit Enter, the console treats the text as an unsaved string and will not create the blue email tag).
Scroll down and click the blue Save button in the bottom right corner.
2. Why Your Testers Still See "App Not Available" (Hidden Triggers)
Even after successfully adding [email protected] into your console, your testers might open your opt-in link and see a blank page or an error stating: "Item not found" or "App not available in your country."
This happens due to three main backend configuration issues:
A. The Tester Didn't Join the Google Group FIRST
This is the golden rule of Google Play Closed Testing: A user MUST be an active member of your Google Group before they open the Play Console opt-in link.
If a user clicks your testing opt-in link ([https://play.google.com/apps/testing/com.your.package](https://play.google.com/apps/testing/com.your.package)) before opening [https://groups.google.com/g/appstestlab](https://groups.google.com/g/appstestlab) and clicking Join Group, Google's system will fail to recognize them as an authorized tester and block their access.
B. Account Mismatch on the Device
Many Android users have two or three Google accounts logged into their mobile phone. If a tester joins your Google Group using [email protected] in their web browser, but their mobile Google Play Store app is actively logged into [email protected], the Play Store will throw a permission error. The Google account that joins the group must match the active Play Store account on the physical phone.
C. Forgeting to "Submit Changes for Review"
Adding a Google Group to your closed track is considered a track modification. Many developers save the group on the Testers tab and assume it's live instantly.
You must go to the Publishing Overview tab in your console sidebar and click Submit for review. Google takes a few hours to process track updates. Until Google approves the update, the new group members remain blocked from downloading the build.
3. Step-by-Step Setup Sequence for Developers
To make sure your closed testing track launches smoothly, follow this operational checklist:
1.Configure Group Access Permissions:Google Groups Portal.
Go to groups.google.com, create your group, and adjust settings under General > Who can join group to "Anyone on the web can join." If set to "Invite Only," external testers will be blocked.
2.Have Testers Join the Group First:User Onboarding.
Send your web join link (https://groups.google.com/g/appstestlab) to your testers. Confirm they click "Join Group" and show up under Members—not Pending Members.
3.Add Group Email to Closed Track:Play Console Dashboard.
Open Play Console > Testing > Closed testing > Testers. Select "Google Groups," type [email protected], press Enter, and click Save.
4.Submit Track for Review & Share Opt-in:Final Deployment.
Navigate to Publishing Overview, click Submit for Review, and wait for approval. Once approved, share your web opt-in link with your verified group members.
Why Closed Testing Tracks Get Rejected (And How to Fix It)
Setting up your Google Group correctly is only half the battle. Once your 14 days finish, you must submit an application form to request production access. Many developers complete the two-week waiting period only to receive an automated rejection email stating: "Your app requires more testing before it can be pushed to production."
Core Reasons Closed Testing Gets Rejected:
Inactive "Ghost" Testers: Casual swap groups on Reddit or Facebook often result in users downloading your app, opening it once for three seconds, and never opening it again. Google tracks user session metrics through Play Services. A history of 3-second interactions flags your track as artificial.
Mid-Cycle Uninstalls: If a casual tester uninstalls your app on day 10 to clear device storage, your active tester count drops below 12. Your consecutive streak breaks, and the 14-day clock resets to zero.
Emulator Footprints: Many free testing groups use desktop emulators or virtual machines to manage multiple accounts. Google easily detects virtual device signatures, which can flag your developer account.
The Solution: Use a Managed Professional Testing Service
To completely eliminate the risk of an administrative reset loop, smart developers deploy a managed professional closed testing platform like inTesters.
Partnering with an established, professional testing platform guarantees production approval by providing:
Guaranteed 14-Day Track Stability: Continuous monitoring ensures your active user counts stay well above the mandatory minimum of 12, preventing streak resets.
20+ Real-Device Human Testers: A dedicated pool of verified human testers using unique, physical Android smartphones (Samsung, Pixel, OnePlus, etc.)—never emulators.
AI-Verified Daily Engagement: Testers actively open your app every single day and interact with submenus and features for a minimum of 2–3 minutes per session, generating the deep user telemetry Google looks for.
Actionable QA Reports & Form Mapping: Professional QA specialists stress-test your code, log unexpected crashes across various Android OS versions, and provide detailed feedback summaries to help you easily complete Google's 10-question Production Access Questionnaire.
Summary
If your Google Group is failing in the Play Console, double-check your formatting immediately. Make sure you are inputting your official group email ([email protected]) rather than the web join link, press Enter after typing, click Save, and submit your track changes for review. Instruct your testers to join the Google Group before opening your Play Store testing link, and handle your testing tracks with professional discipline to ensure a smooth transition to public release.
About the Author

Pratyush Kumar Thakur
Expert software tester and contributor to the community. Passionate about AI, automation, and user experience.