
Resolving a Google Play identity rejection requires shifting from quick assumptions to absolute data precision. Align your payments profile text with your physical documentation, discard unsupported files like Aadhaar cards in favor of a clean PAN card or Passport, utilize international-ready cards under your own legal name, and manage your subsequent track testing tracks with professional discipline to scale your app's global launch successfully.
Setting up a Google Play Developer account is a major step toward launching your app, but Google's registration pipeline has become an absolute security fortress. Lately, independent developers and startups have been hitting a frustrating brick wall: Immediate identity verification rejections.
You pay the registration fee, upload your documents, and suddenly get a notification stating that Google could not verify your identity, leaving your account restricted or locked.
A rejection is rarely a random glitch; it is an automated or manual enforcement flag triggered by a data mismatch. This guide covers why your identity verification was rejected, the hidden validation rules regarding names and financial documents, and the step-by-step process to fix your console setup cleanly.
Paying your $25 registration fee to setup a Google Play Developer account is a major milestone, but Google's registration pipeline has become a data security fortress. Lately, developers are hitting a frustrating brick wall: Immediate identity verification rejections.
You upload your documents, wait anxiously, and get a notification stating: "Google couldn't verify your identity." Suddenly, your new console is restricted, and your launch timeline is shattered.
A verification rejection is almost never a random system glitch; it is an automated or manual mismatch flag triggered by data discrepancies across your profile layers. This guide breaks down the exact reasons why your Google Play identity verification failed, provides real-world examples of data errors, and outlines a step-by-step recovery plan to get your account verified.
1. Reason: The "Name Discrepancy" Trap (PAN Card vs. Console Profile)
This is the single most common trigger for automated rejections. Google syncs your Play Console Account Details with an internal Google Payments Profile. If the name string across these fields deviates from the physical characters printed on your government photo ID by even a single letter, the system flags it as unverifiable.
The Real-World Mismatch Example:
Imagine your official, physical PAN Card or Passport lists your legal name as:
SAVALIYA JAYMIN SURESHBHAI
However, when setting up your account, you quickly fill out your profile using your everyday signature name, entering:
Savaliya Jaimin
The Reason it Fails: The system uses optical character recognition (OCR) software to read your uploaded card. It looks for an exact string match. The variation between
JaiminandJaymin, paired with the missing middle/last nameSureshbhai, breaks the verification rule, causing an automatic system block.
The Solution:
Open your browser and log into the Payment Methods using the email account associated with your Play Console.
Navigate to Settings from the top or side menu bar.
Locate Name and address under your Payments profile and click the edit icon.
Delete your text entry and type your exact full legal name precisely as it appears on your physical PAN card or Passport—matching every capital letter, initial, and spelling variation.
Open your Play Console, head to
Developer account > About you, and make sure your public Developer Name aligns cleanly with your updated payments profile.
2. Reason: Uploading Unsupported Identity Documents
Many independent developers scan their files or grab whatever document is sitting closest in their wallets. If you upload a file outside of Google's strict regional whitelist, your verification will fail instantly.
The Real-World Document Trap:
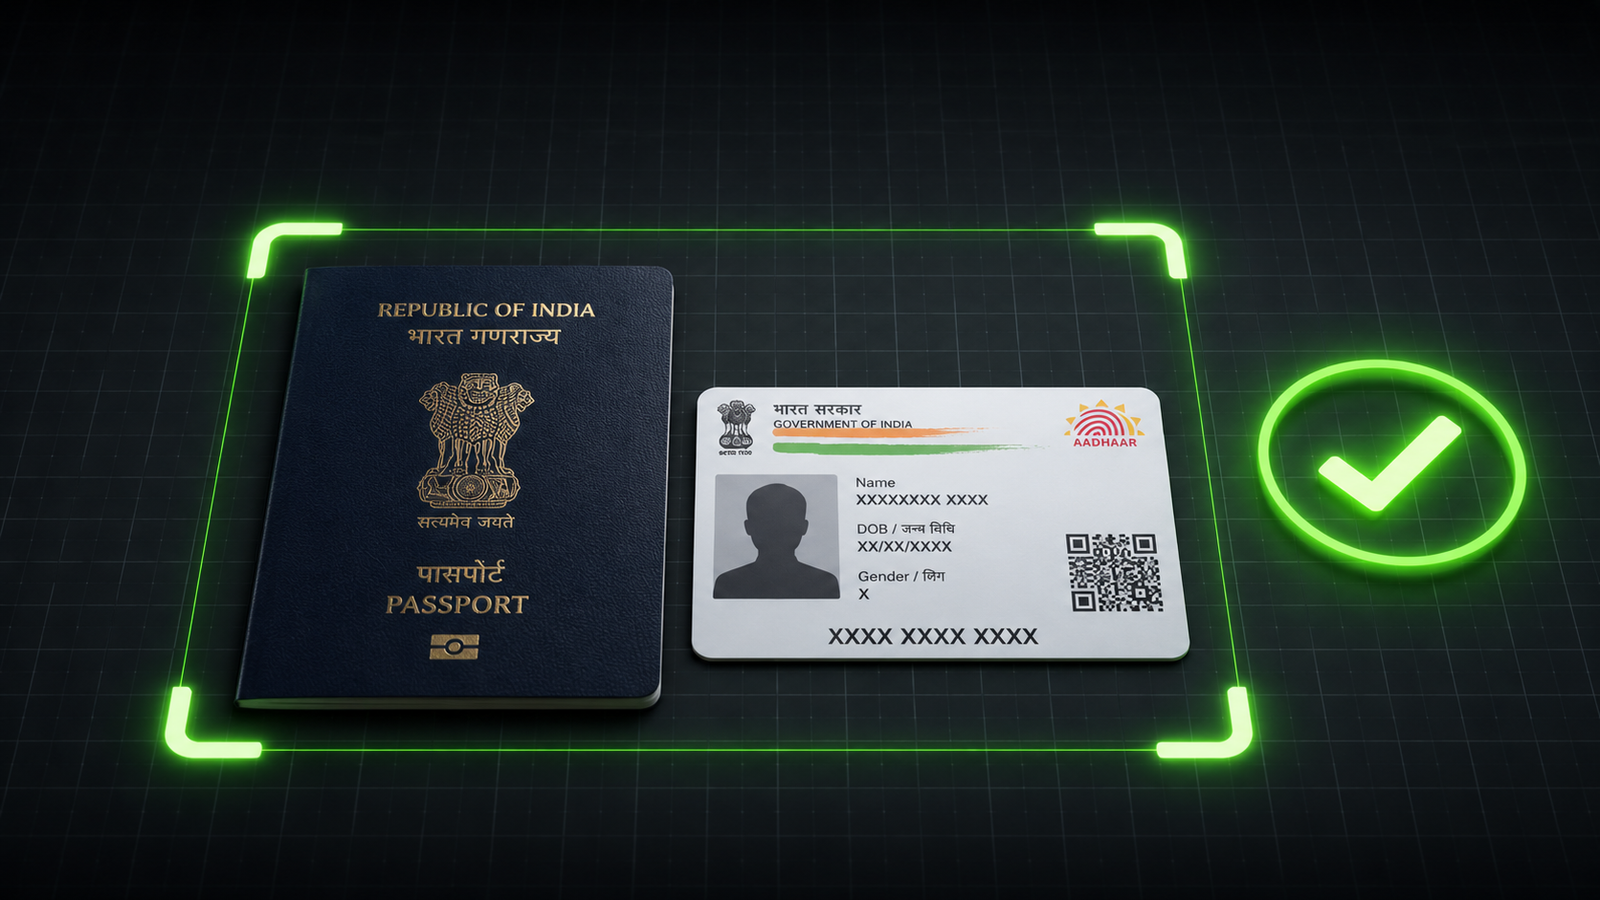
If you are registering from India, your immediate instinct might be to upload an Aadhaar Card or an e-Aadhaar PDF download.
The Reason it Fails: Google explicitly does not accept Aadhaar Cards for developer identity verification. Submitting one—no matter how high-resolution the picture is—will result in an immediate rejection.
The Solution: Discard Aadhaar cards completely during this phase. You must use a physical PAN Card, an Indian Passport, a Driver's License, or a Voter ID.
Important Photo Guidelines: Do not upload a cropped screenshot, a scanned document PDF, or a black-and-white photocopy. Take a high-resolution color photograph of your physical PAN card under clear lighting conditions. Ensure there is zero flash glare bouncing off the card surface and that all four physical corners of the card are fully visible inside the camera frame.
3. Reason: Financial Document Mismatches (Utility Bills & Bank Statements)
If Google flags your initial documents or requires secondary proof to verify your physical residential address, they will prompt you to upload a recent bank account statement or utility bill.
The Real-World Statement Failure:
You request a digital statement from your banking app. The uploaded statement displays your home address perfectly, but the bank has your name registered as P. K. Thakur while your PAN card and payments profile say Pratyush Kumar Thakur.
The Reason it Fails: Google's reviewers cannot verify that
P. K. T.andPratyush Kumar Thakurrepresent the exact same individual.The Solution: If your banking statement uses abbreviations, do not use it. Swap it for a post-paid mobile bill, an electricity bill, or a different credit card statement where your full name matches your PAN card letter-for-letter. Additionally, ensure the document is fresh—Google will reject any utility bill or statement dated older than 90 days.
4. Reason: Payment Failures and Third-Party Cards
The $25 one-time registration fee can trigger immediate security rejections before you even have the chance to upload a photo ID.
The Real-World Billing Error:
You don't own an international credit card, so you use a friend's or relative's card to complete the registration checkout. When creating the payment profile, you enter the cardholder's details into the billing fields.
The Reason it Fails: Google flags a major security risk when the name on the payment card profile differs from the account owner's legal identity documents. Additionally, if the card's bank has International Transactions/E-commerce Usage toggled OFF by default, the payment gateway flags a transaction failure.
The Solution: You can technically use a relative's card to settle the fee, but the Google Payments Profile name must remain your legal name. Do not fill out the payments profile using the cardholder's information. Before initiating the transaction, open your mobile banking application, find your card controls, and ensure that international usage is explicitly authorized. Google prefers mainstream global networks like VISA or Mastercard.
What to Do If Your Verification Attempts Run Out
If you have repeatedly submitted mismatched data, Google will lock down your verification interface, removing your ability to upload fresh files. If you find yourself stuck with a restricted dashboard and no upload buttons, apply this recovery sequence:
Head directly to the Help panel on your left-hand console menu.
Open a manual support request or use the online Google Play Developer Community appeal forms.
Write a clear, concise message explaining that you had an initial profile name discrepancy that has now been corrected:
My initial verification failed due to a profile name mismatch. I have now updated my Google Play Console details and my master Google Payments Profile to perfectly match my legal PAN card name (
Your Full Legal Name). Please reset my verification attempts so I can upload my clean documents.Google’s internal teams typically review these requests and reset your console verification attempts within 7 business days.The Next Step: Overcoming the 14-Day Testing Hurdle
Clearing your identity verification updates your developer console to active status. However, if you are operating an independent Personal Account, your publishing features are still completely locked. To move an app from a draft into the public store, Google forces you to run a strict mandatory closed testing track. You must recruit a minimum of 12 verified testers who must keep your app bundle (.aab) installed and actively test it for 14 consecutive, uninterrupted days before you can apply to go live.
Why Casual Community Exchanges Fail
Many developers try to clear this phase quickly by joining free click-swap forums on Reddit, Facebook, or Discord. This approach regularly results in immediate production rejections from Google's manual review board.
Casual community users practice an "open and close" routine. They click your link, open the software for three seconds to log an install, and exit immediately. Google's console metrics track background session lengths. If your track displays entirely shallow sessions or if a single user uninstalls your app on day 11, your 14-day streak breaks, and your launch timeline resets to zero—wasting weeks of market momentum.
Protect Your Launch via Managed Professional Testing
To completely eliminate the risk of a 14-day reset loop, smart developers deploy a managed professional closed testing service like inTesters early in their distribution cycle. Partnering with a dedicated network of vetted QA specialists ensures your application generates the pristine telemetry data Google's manual reviewers expect.
A premium professional platform completely handles compliance logistics by providing:
Guaranteed 14-Day Track Stability: Continuous, round-the-clock track monitoring to ensure your data streams run perfectly without a single day of drop-offs.
20+ Vetted, Real-Device Testers: Provides a reliable safety buffer over the mandatory minimum. Every tester is a real person using a unique, physical Android phone tied to an active Google Play account—no emulators or virtual machine accounts allowed.
AI-Verified Daily Session Proof: Testers submit daily visual proof logs analyzed via an automated AI Screenshot Verification System to confirm active interaction and eliminate fraud.
Organic Deep User Telemetry: Trained testers open your app daily and interact with your interface for a minimum of 2–3 minutes per session, navigating layouts and exploring every screen view.
Production Questionnaire Support: Complete data support and expert technical logs to help you confidently complete Google's strict 10-question production access application form with ease.
About the Author

Pratyush Kumar Thakur
Expert software tester and contributor to the community. Passionate about AI, automation, and user experience.